OsmAnd development
Overview
Test functions of the app are collected in the OsmAnd development plugin. Use them at your own risk.
The OsmAnd development plugin allows you to try new features of the app or to configure OsmAnd for testing: simulate navigation routes, check the screen rendering performance, etc. Plugin is designed for developers and experienced users and not required for daily use of the application.
Setup
To activate special features for developers and testers:
- Enable OsmAnd development plugin in the Plugins section of the Main menu.
- Make the necessary settings in the plugin's Settings menu.
- Enable developer widgets if necessary.
Plugin settings
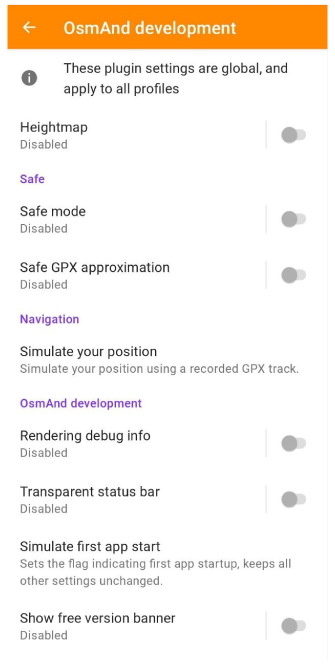
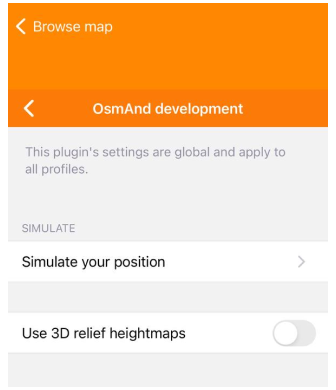
Development plugin settings are global and apply to all profiles.
Use one of the following paths to open the plugin settings:
- Main menu → Plugins → OsmAnd development → Settings.
- Main menu → Global Settings → Profile → OsmAnd development plugin settings.
- Android
- iOS

Terrain
- Android
- iOS
Use raster SQLIte format for hillshade and slope - allow you to load old format raster maps.
- Test heightmap
- Use 3D relief heightmaps
- Disable vertex hillshade in 3D
- Generate slope raster maps from 3D maps
- Generate hillshade raster maps from 3D maps
Troubleshotting
- Android
- iOS
- Simulate your position - Simulate your position using a recorded GPX track.
- Rendering debug info - Display the rendering performance (only available for version 1 rendering engine).
- Logcat buffer - Check and share detailed logs of the app.
- Write Bearing - Save bearing to each track point while recording. Bearing is the compass direction from your current position to your intended destination. Affects track recording.
- Write Heading - Save heading to each track point while recording. Heading is the compass direction from your current position towards true north. This option is enabled by default. Affects track recording.
- Simulate your position - Simulate your position using a recorded GPX track.
Application Testing
- Android
- iOS
- Simulate first app start - Sets the flag indicating first app startup, keeps all other settings unchanged.
- Test voice prompts - Select a voice and test by playing announcements.
- Transparent status bar - The map becomes visible under the status bar.
- Show free version banner - Display the free version banner even in the paid version.
Internal Algorithms
- Android
- iOS
- Safe mode - Run the app in (slower) safe mode.
- Safe GPX approximation - Perform the GPX approximation using slower Android instead of native code.
Memory settings
- Android
- iOS
- Memory allocated for routing option allows you to determine the amount of memory allocated for calculating long routes.
- Higher memory allocation may impact the performance of other apps.
- Calculation of 50 km routes for pedestrians
Widgets
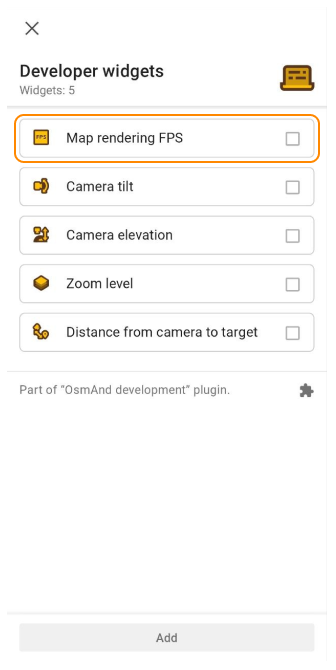
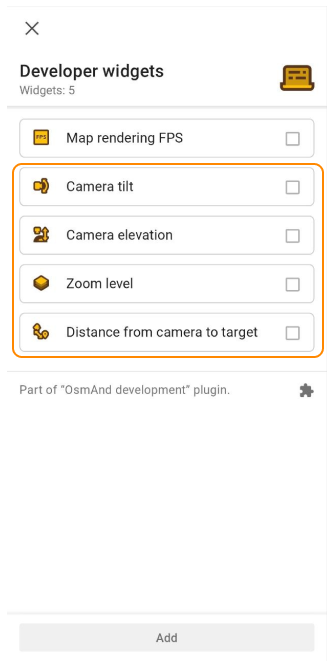
OsmAnd developer Widgets can be added to the screen only when OsmAnd development plugin is enabled.
You can use OsmAnd developer Widgets to get information about zoom level, map rendering speed, elevation of the map center above sea level, distance to map center, camera elevation and incline.
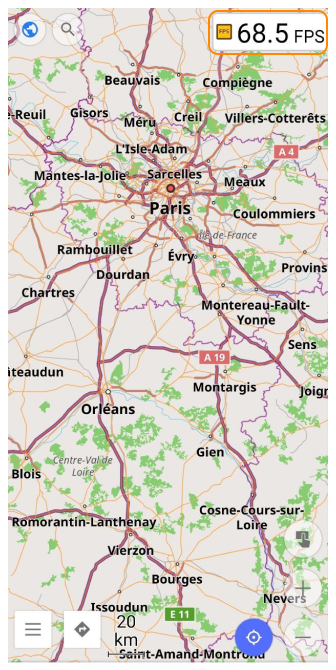
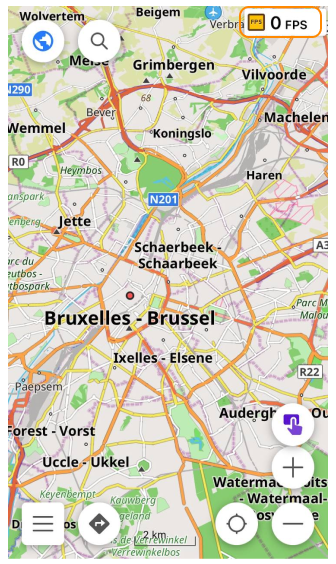
FPS Widget
The FPS Widget shows how fast the map and map elements are displayed and refreshed. The numeric value is indicated in frames per second (FPS).
- Android
- iOS
Menu → Configure screen → Right panel / Left panel → Developer widgets → Map rendering FPS
Menu → Configure screen → Right panel / Left panel → Developer widgets → Map rendering FPS
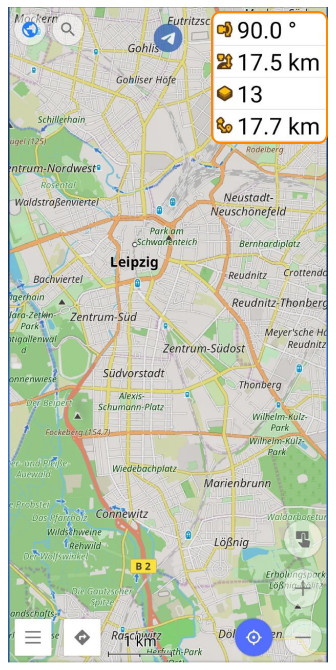
Camera position Widgets
You can use Camera position widgets to give the OsmAnd map a realistic look and match photos of the Earth taken both from above and from space.
- Android
- iOS
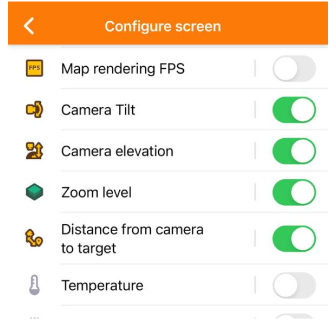
Menu → Configure screen → Right panel / Left panel → Developer widgets
Menu → Configure screen → Right panel / Left panel → Developer widgets
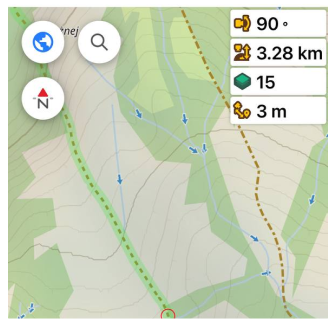
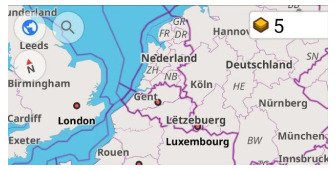
Camera tilt
- Android
- iOS
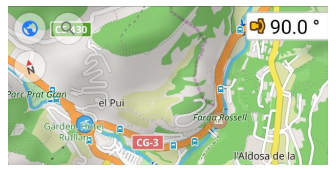
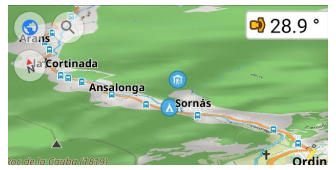
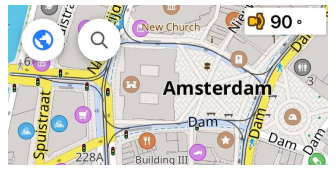
The Camera tilt widget displays the incline between the central view vector of the camera (viewer) and an imaginary flat ground of the earth. The default value is 90 degrees (no tilt).
The camera tilt is changed by moving the camera (viewer) while the center point on the map (we are looking at) remains the same. The distance to it (in fact, zoom) does not change. At the same time, due to the imaginary movement of the viewer, the distance from the camera to the surface changes.
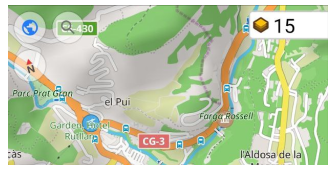
Camera Elevation
- Android
- iOS
The Camera Elevation widget shows the camera elevation above the surface level. Camera elevation is indicated in meters / kilometers.
Zoom level
- Android
- iOS
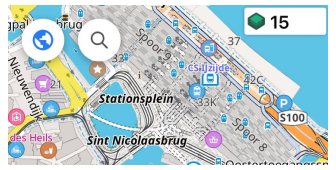
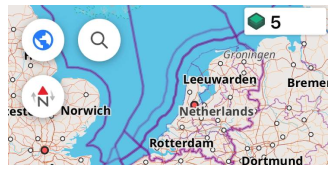
The Zoom level widget represents the current map zoom level.
The initial zoom level (0) is the level at which the entire surface of the earth (the full map) is displayed on the screen, and its size is 256 by 256 pixels.
Each next zoom level reduces the imaginary distance to the ground by about 2 times.
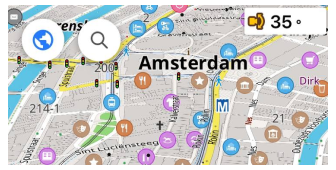
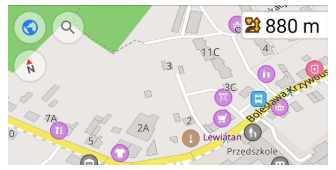
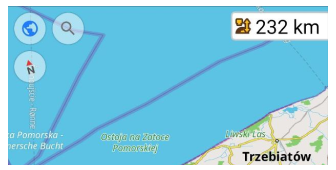
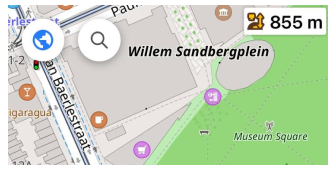
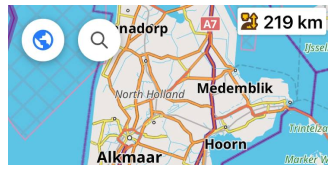
Distance to target
- Android
- iOS
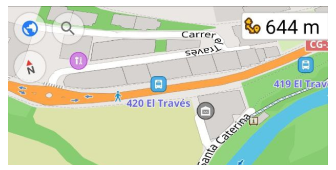
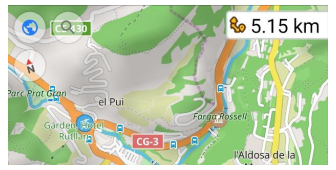
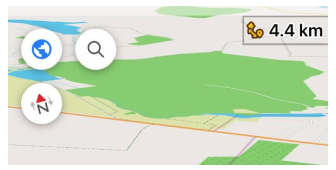
The Distance from camera to target widget shows the distance between the camera (viewer) and the center of the map. This distance is displayed in meters / kilometers.
Comparison with a satellite imagery
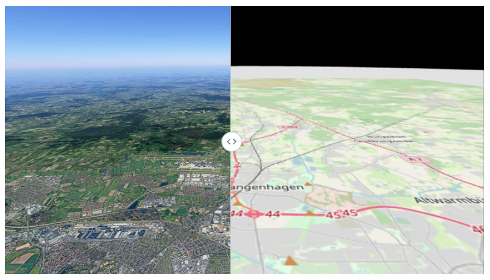
A comparison of the OsmAnd map and the earth's surface reveals the following patterns:
- Maximum distortion is observed at large zooms (6-7 zoom for camera incline 90 degrees).
- As the camera tilt decreases (from 90 to 10 degrees), the distortion of the map increases.
- Distortions begin to be observed earlier in high latitudes.
The table below contains information about the tilt of the camera and the distance to the target and zoom level at which the OsmAnd map distortions become visible. If the camera continues to move away from the target, the observed distortion of the OsmAnd map will increase.
| Incline | Latitude | Max Zoom | Height, km | Distortion |
|---|---|---|---|---|
| 90 | 26 | 6 | 5500 | 5% |
| 90 | 50 | 6 | 2500 | 5% |
| 90 | 66 | 7 | 1300 | 5% |
| 65 | 26 | 8 | 1100 | 6.5% |
| 65 | 50 | 8 | 800 | 6.5% |
| 65 | 66 | 9 | 630 | 6.5% |
| 45 | 26 | 9 | 350 | 7.5% |
| 45 | 50 | 9 | 320 | 7.5% |
| 45 | 66 | 8 | 210 | 7.5% |
| 20 | 26 | 12 | 30 | 10% |
| 20 | 50 | 11 | 30 | 10% |
| 20 | 66 | 11 | 30 | 10% |
Available RAM Widget
This widget is designed specifically for you when using OsmAnd to provide a more convenient and informative interaction with the available RAM on your device. It allows you to easily and quickly monitor the available RAM, which is especially useful when using OsmAnd for navigation. Read more about the widget in the Information widgets article.
GPX-track simulation
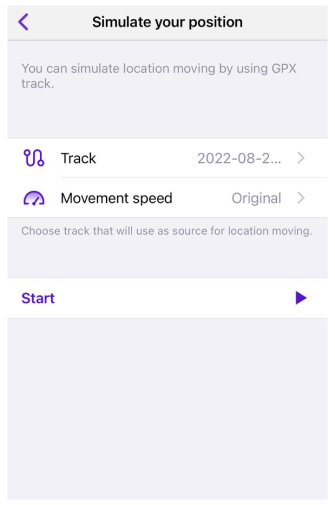
OsmAnd provides an opportunity to simulate the location and movement of your device using a GPX track. For these purposes, use Simulate location by GPX option in the OsmAnd development plugin settings:
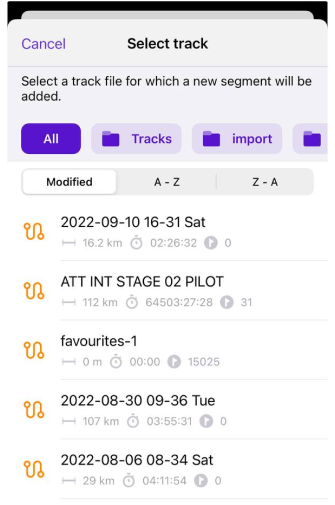
- Tap Simulate location by GPX.
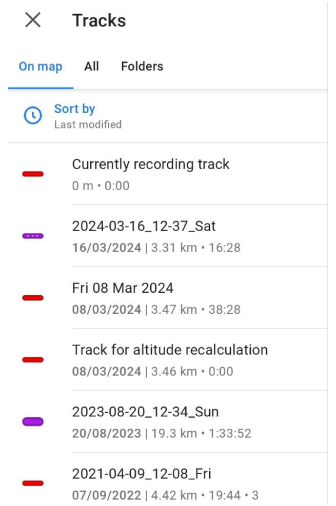
- Select a track to simulate the location and movement of the device.
- Select movement simulation speed.
- Tap Start buton.
- Android
- iOS

- Simulate location by GPX can be also accessed through Quick action menu.
- The location movement speed during the simulation can be set equal to the recorded speed (1), or faster (x2, x3, x4).
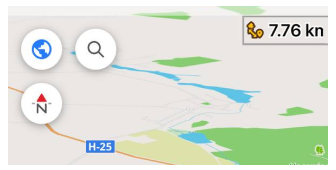
After running the simulation, you will see on the main screen of the app that navigation mark is moving according to GPX track. Tap on my location button to synchronize "my location" (simulated geolocation of the device) with the center of the map.
To stop simulation of the movement of your device, go back to the OsmAnd development settings and tap on stop in the simulate your position option.
You can also simulate movement along a GPX-track from the navigation menu without enabling the OsmAnd development plugin. In that case, your location will not be synchronized with the track.