External Sensors
Overview
The External Sensors plugin is a paid feature of the OsmAnd app.
The External Sensors plugin allows you to read and record data from wireless external sensors running on ANT+ and BLE (Bluetooth Low Energy) technologies and display this data using widgets in the OsmAnd application. This managed network is capable of collecting, transmitting, and storing sensor data. iPhones and iPads do not have the hardware to receive ANT+ signals.
The OsmAnd External sensors plugin accesses external sensors and can read data such as Heart Rate, Bicycle Power, Bicycle Cadence, Bicycle Speed, Bicycle Distance and Temperature. For the plugin to work correctly, make sure that your device is connected to the appropriate sensors.
Required Setup Parameters
To start using data from external sensors, you need to make the following settings:
- Purchase an OsmAnd Pro subscription.
- Enable the External Sensors plugin in the Plugins section of the Main Menu.
- Turn on Bluetooth on your device to connect external BLE sensors.
- Configure the sensor settings.
- Add External sensors widgets to the screen (optional).
- Use the tips for ANT+ connect to set up these types of sensors.
- Use the Trip recording plugin to record sensor data.
Pair New Sensor
- Android
- iOS
 |  |
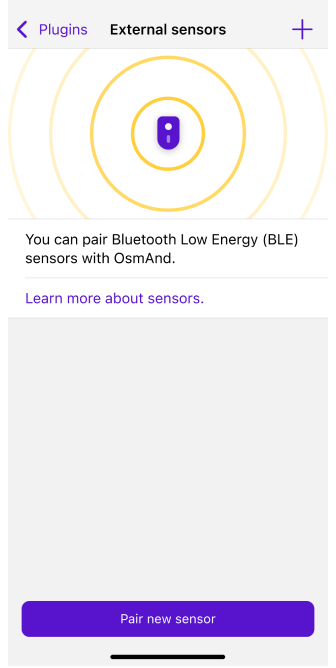 |  |
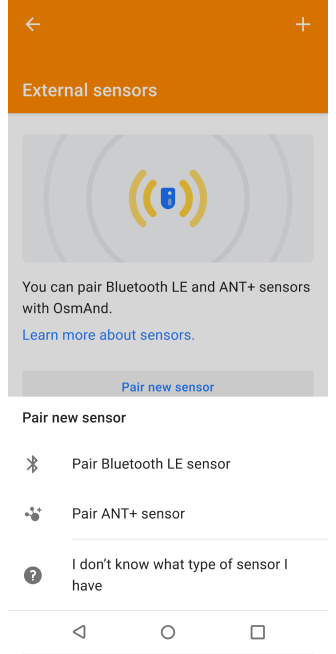
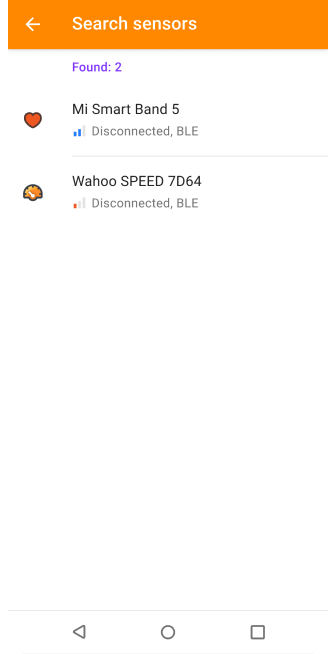
Use the Pair new sensor button to connect new sensors.
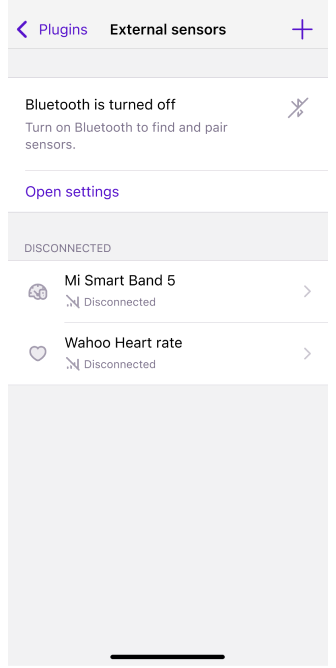
- You need Bluetooth turned on to search for sensors. If your Bluetooth is turned off, the app will prompt you to Open settings on your device.
- To add new sensors, tap + for the required one in the list of found sensors.
- A pop-up notification is displayed when a paired sensor is connected or disconnected.
- Not all devices support ANT+ (Android only). You can check if your device works with ANT+ by going here.
- Bicycle power in Android is only Ant+.
- There is no Bicycle power in iOS because Ant+ sensors are not supported.
Sensor Settings
- Android
- iOS
Use one of the following paths to open the sensor settings:
- Menu → Plugins → External Sensors → Available device → Settings
- Menu → Configure profile → Plugin settings → External Sensors → Available device → Settings
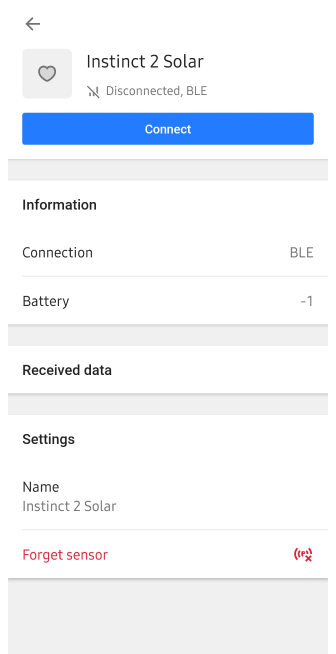
Use one of the following paths to open the sensor settings:
- Menu → Plugins → External Sensors
- Menu → Settings → Selected profile → Plugins → External Sensors
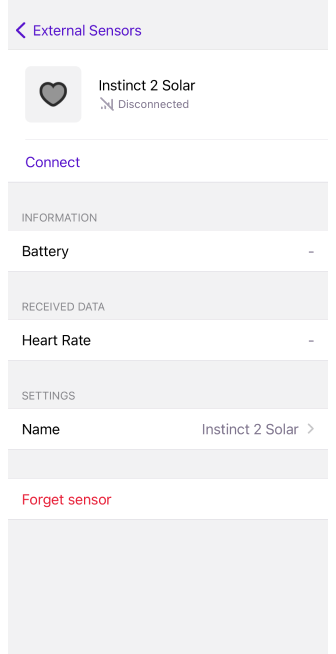
With the plugin for each external sensor available to the OsmAnd application, you can use these settings:
- All previously added sensors are divided into two lists: Connected and Disconnected.
- Each sensor in the list has a menu with settings:
- Disconnect or Connect the sensor, depending on its current state.
- Settings. Opens a separate sensor screen with additional information on sensor type, battery level, data received, and settings for renaming, forget sensor, and specifying wheel circumference. The sensor screen can be opened simply by tapping the field with the sensor name in the list.
- Rename. Allows you to set your name for the sensor.
- Forget. The sensor will be removed from the list but can be paired again.
- When the battery level of the paired sensor becomes less than 15%, a pop-up notification appears on the screen.
Trip Recording
- Android
- iOS
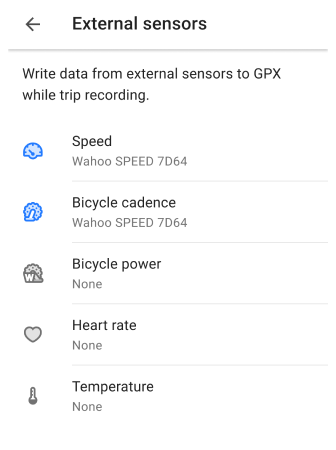
Go to: Android Menu → Plugins → Trip recording → Settings → Data → External sensors
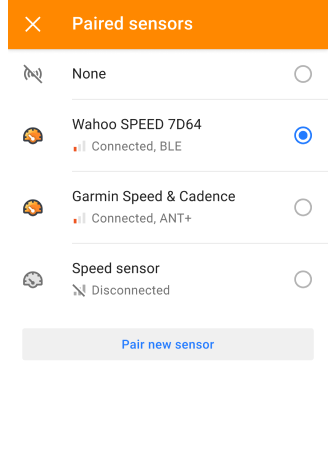
Go to: iOS Menu → Plugins → Trip recording → Settings → External
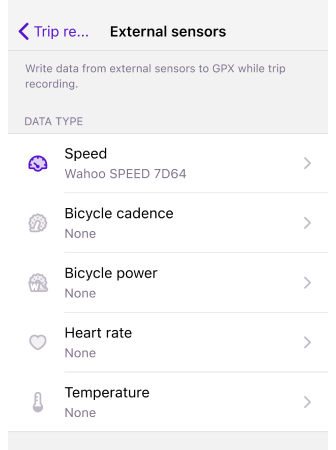
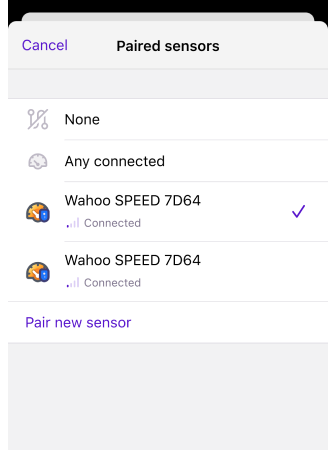
Data from connected external sensors can be added to the GPX file using the Trip recording plugin.
- Settings for sensors are only available if the External Sensors plugin is enabled.
- To use data from external sensors, go to Menu → Plugins → Trip recording → Settings → Data → External sensors.
- A list of available sensors for each data type is always available, regardless of whether any sensor is connected.
- If none of the sensor types are paired, use the Pair new sensor button in the Trip recording plugin Settings menu.
- OsmAnd records data from selected sensors to the track while recording a trip.
OsmAnd uses track recording with such tag names for external sensors, with which your file can be easily read by the sports applications you use. For example, Strava or Runkeeper.
Data Analyze
- Android
- iOS
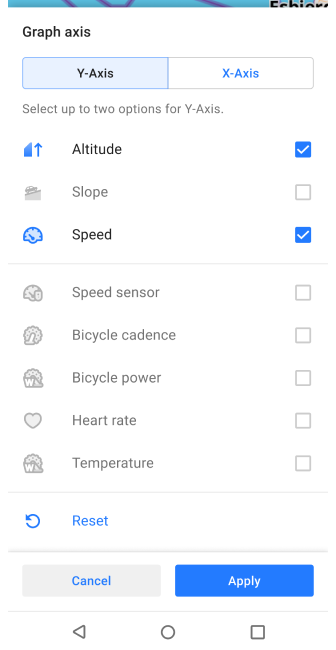
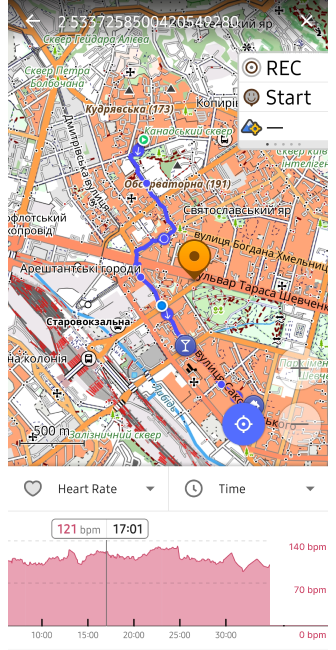
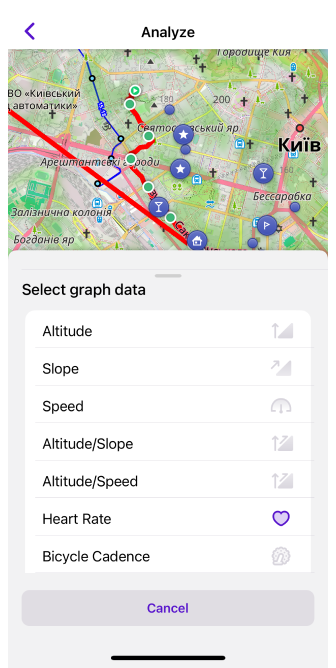
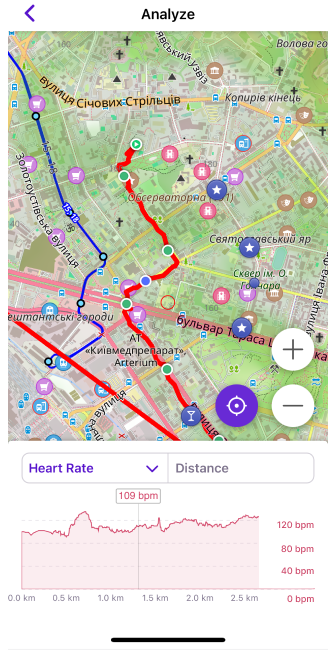
Data from external sensors can be transmitted to the device and displayed in OsmAnd during the trip as additional information. If you want to analyze this information, you need to record the trip, and only after you save it, in the Track context menu → Analyze on map, additional items for the recorded data appear.
OsmAnd allows you to select a 2nd axis for data analysis: Heart rate, Speed, Cadence, Bicycle power, and Temperature. Distance and Battery are not used in Analyze on map.
Widgets
- Android
- iOS
Go to: Android Menu → Configure screen → Widgets → Choose a panel → External sensors
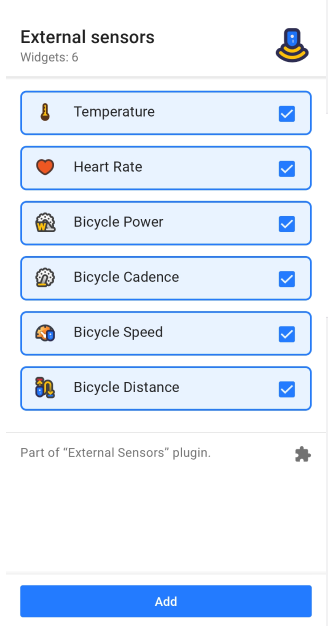
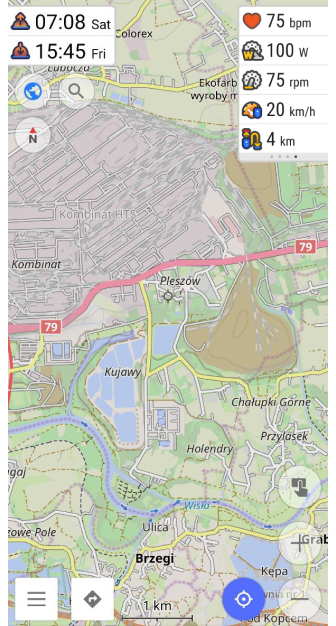
Go to: iOS Menu → Configure screen → Widgets → Choose a panel → [object Object]
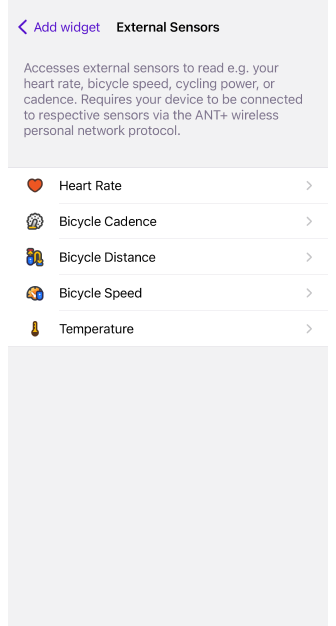
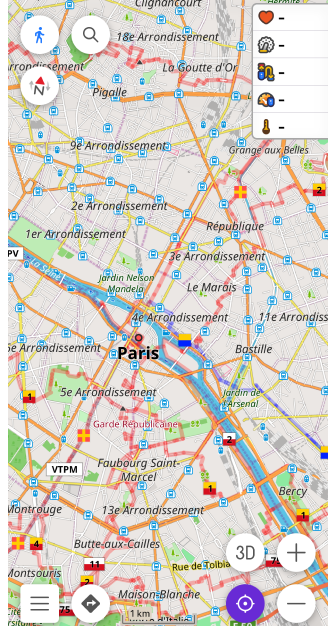
The External Sensors widget is automatically added to the list of widgets when you enable the External Sensors plugin. Before you start your trip, make sure that the widgets are on the screen, and if not, add them using the Configure Screen menu. External Sensor widgets help you track data from your external sensors in real-time.
- Heart Rate. The heart rate sensor can transmit your heart rate in real-time. This is useful for cycling training when you want to track your heart rate to optimize your training efforts.
- Bicycle Power (Android only). Your bike's power sensors measure the power you exert when you pedal. This allows you to analyze and optimize your workouts to improve efficiency and performance.
- Bicycle Cadence. Cadence is the number of pedal turns per minute. Cadence sensors help you maintain optimal pedaling speed for efficient cycling.
- Bicycle Speed. Speed sensors provide information about your current speed while cycling.
- Bicycle Distance. Distance sensors measure the distance you travel when you're driving.
- Temperature. The widget displays the ambient temperature, which can be very useful if you don't want to overheat or freeze on your bike or motorcycle.
Widget Settings
- Android
- iOS
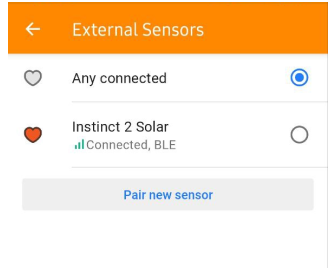
Go to: Android Menu → Configure screen → Widgets → Choose a panel → External sensors → ⚙️ or Settings
Go to: iOS Menu → Configure screen → Widgets → Choose a panel → External sensor → Settings
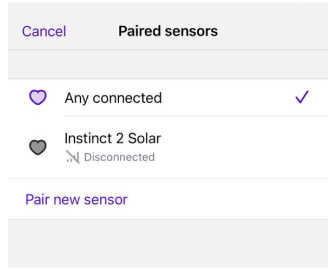
By default, the widget shows the first currently connected sensor of this type. If you want to choose different, you need to choose manually from the connected sensors list.
Related Articles
This article was last updated in November 2024