Routes
Overview
OsmAnd has many powerful features for displaying different routes on the map. By default, these routes are part of vector maps (OpenStreetMap data), however similar functionality is provided by tracks which could be created with Plan a Route, imported as GPX tracks, recorded with the Trip Recording plugin. Routes Map Ledend is here.
Display Routes on the Map
- Android
- iOS
Go to: Menu → Configure map → Routes
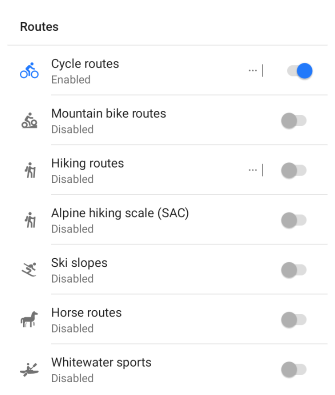
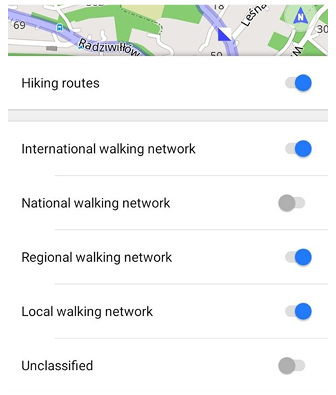
- To display the required routes on the map, enable them in the Routes list of the Configure Map menu.
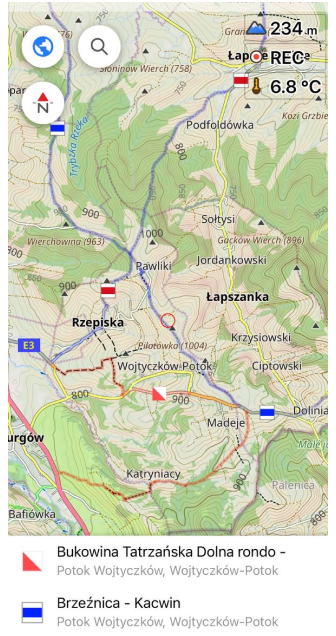
- OsmAnd can highlight routes present on OpenStreetMap. They can be selected by tapping the symbol on the route, and if the visible set of routes is configured correctly, you can follow the color and icons.
- The main route types can also be filtered by classes and subclasses, allowing you to display only specific groups within each type. For example, you can show hiking routes by OSMC symbols as classes, and by international, national, regional, or local networks, as well as unclassified routes, as subclasses. Similar network classification filters are available for cycling routes. These options are currently available when the OsmAnd Development plugin is enabled. When multiple route networks overlap, individual classifications can be enabled or disabled to display only the desired route levels.
- You can create a track on top of the routes using the Plan a Route tool.
- When several routes run along the same road, each route is displayed as a separate semi-transparent line placed above others.
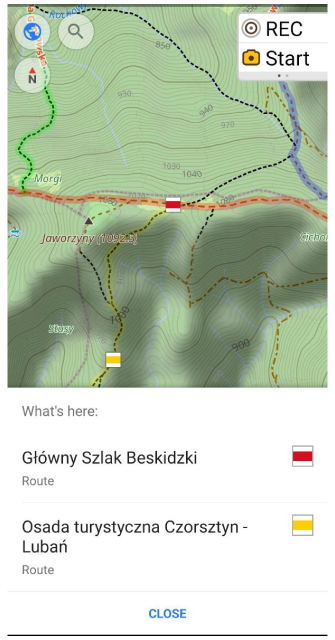
- When tapping a location where multiple routes overlap, a context menu with all routes passing through this point is shown.
- Updated vector maps are required to display all elements of the new route rendering scheme.
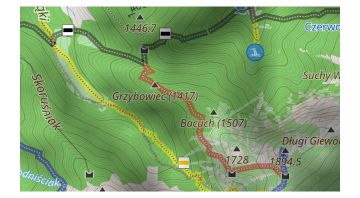
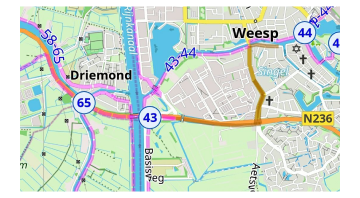
Go to: Menu → Configure map → Routes
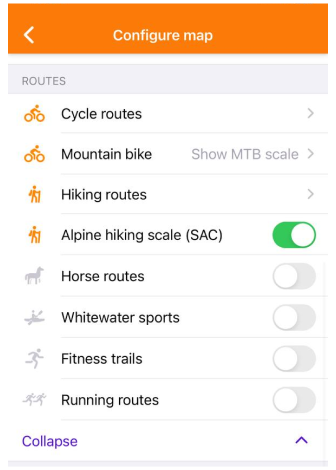
- To display the required routes on the map, enable them in the Routes list of the Configure Map menu.
- OsmAnd can highlight routes present on OpenStreetMap. They can be selected by tapping the symbol on the route, and if the visible set of routes is configured correctly, you can follow the color and icons.
- You can create a track on top of the routes using the Plan a Route tool.
- When several routes run along the same road, each route is displayed as a separate semi-transparent line placed above others.
Actions with Routes
- Android
- iOS
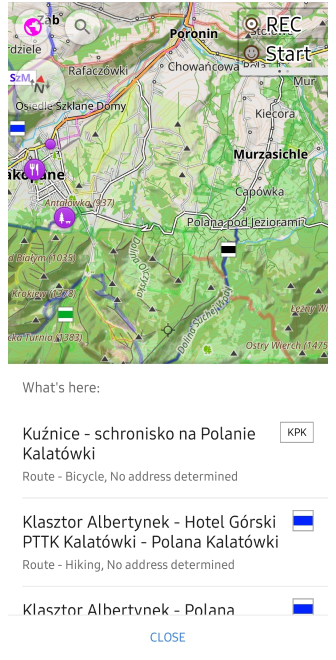
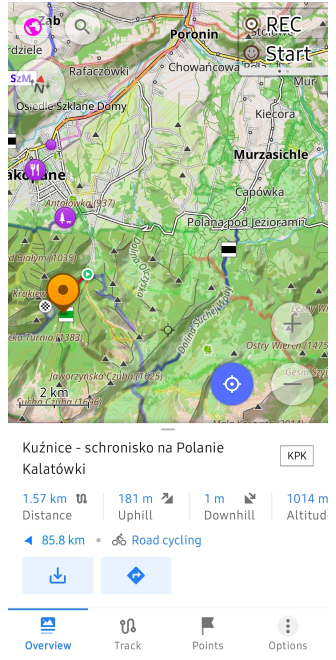
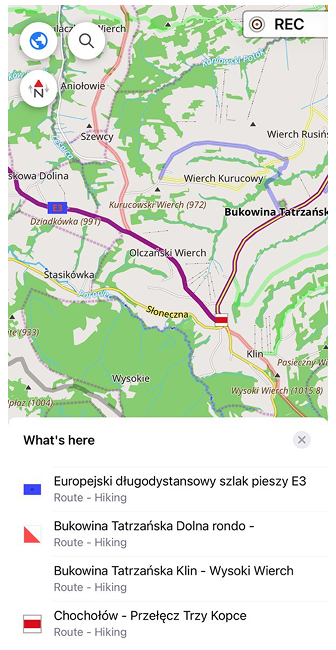
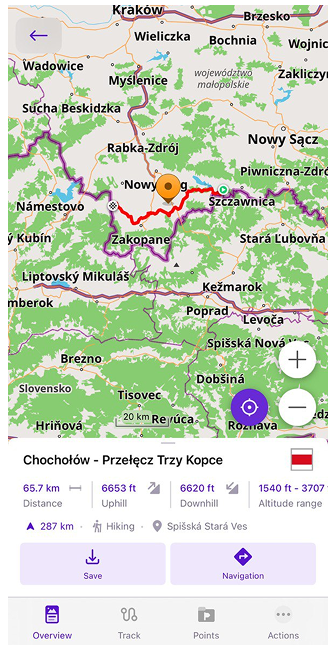
On the map, you can select routes for hiking, cycle, ski, MTB, dirt bike, travel, and more. Where available, hiking routes display their waymarks using OSMC symbols; other route types use their own markings.
When you tap a route symbol on the map:
- A list of the nearby routes at that location is displayed.
- After selecting a route from the list, a context menu for that route opens, displaying detailed information and available actions.
- The selected route is opened in a track view, allowing you to interact with it in the same way as with a GPX track.
In the context menu, you can:
- View additional information about the selected route.
- Save the route as a GPX track.
- Start navigation along the route.
Climbing Area and Crag Details
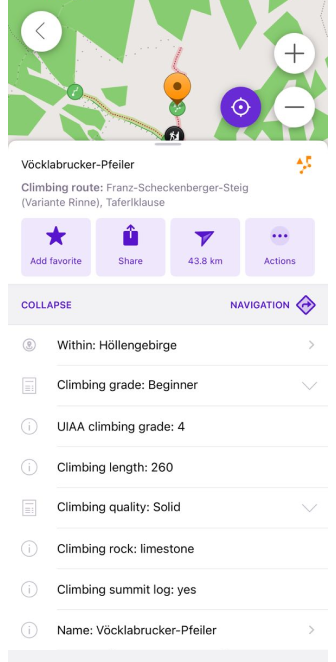
When selecting a climbing area or crag, OsmAnd provides a detailed summary of the climbing location, including: name and location, climbing difficulty rating (UIAA, French, YDS, etc.), rock type, height and route length, climbing quality and surface conditions.
Route Info and Elevation
- Android
- iOS
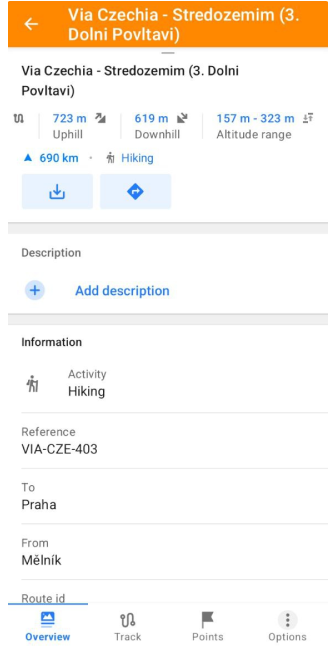
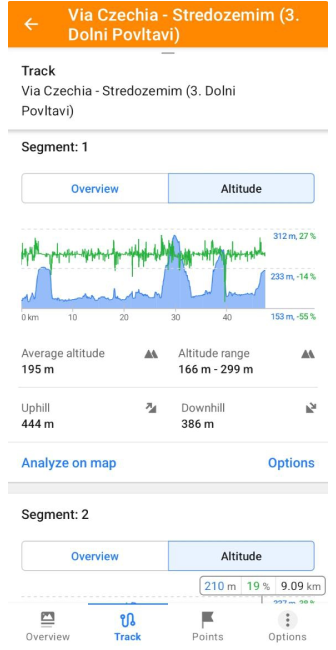
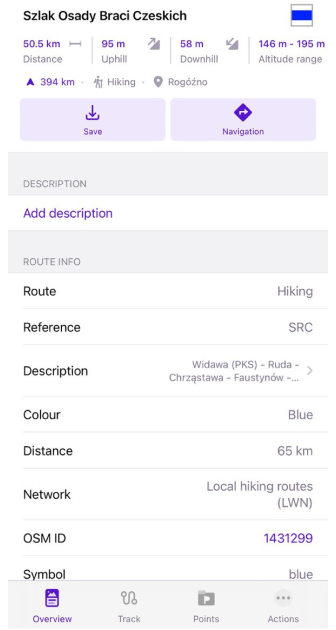
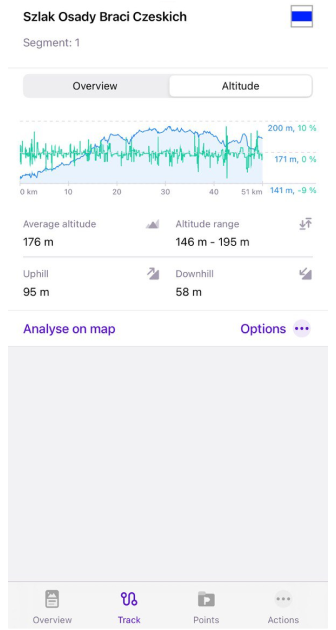
The following information will be visible in the context menu:
- Route info: Route name, OSM link (OSM Editing plugin required), Type, Description, Distance, Direction, Uphill/Downhill, Altitude range, Network, Operator, State, Color, Roundtrip, Start/End points, and more.
- General: Size, Location, Created on.
- Additional Info. Displays type of activity.
- action buttons: Save as and Start Navigation.
- Elevation info. Displays information about the elevation data on the route.
- Analyze Track on Map. Displays detailed analysis of track data using graphs and maps.
To view graph of the elevation, slope, or altitude details for a selected route, simply tap on any of the following values in the context menu: Distance, Uphill, Downhill, or Altitude.
You can also open the Track tab and switch to the Altitude view to see the full elevation graph of the route.
Note: Elevation data is generated automatically and may slightly differ depending on available data.
Save as a Track
- Android
- iOS
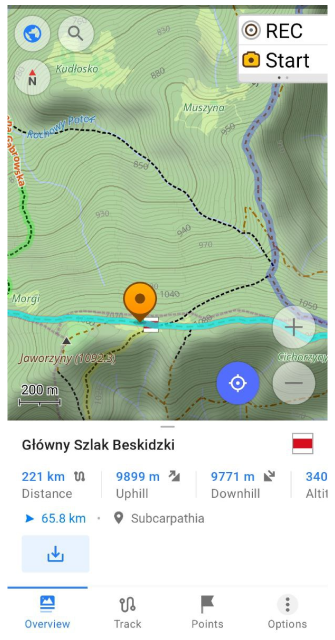
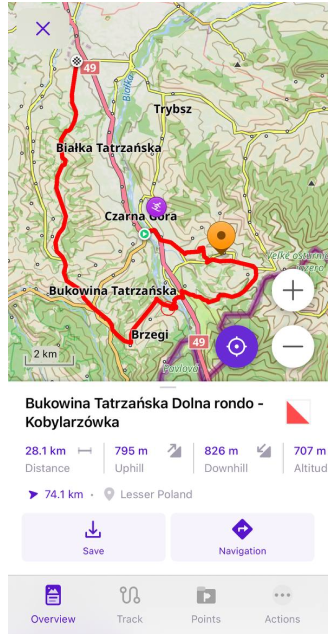
To save the route as a GPX file, tap the Save (Download) button under Info panel. This will open the Quick actions button panel where you will have access to track actions such as changing Appearance, Navigation, or editing Plan a route. Saved routes behave the same as other tracks and are available in your track collection.
Start Navigation
- Android
- iOS
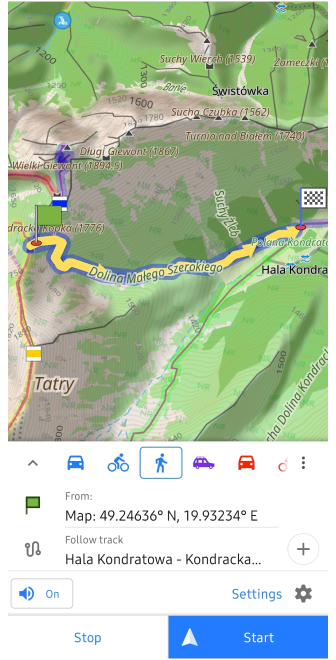
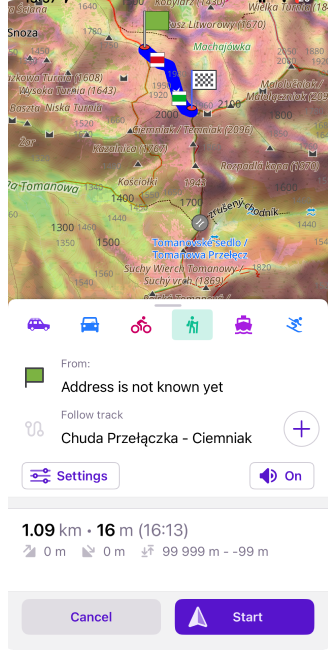
To start navigation along the selected OSM route, tap the Start Navigation button in the Info panel.
This will launch the Navigation by track mode, allowing you to follow the route with voice guidance and navigation features.
Quick Actions
You can customize whether routes are switched on or off using the Quick Action widget.
Routes Search
- Android
- iOS
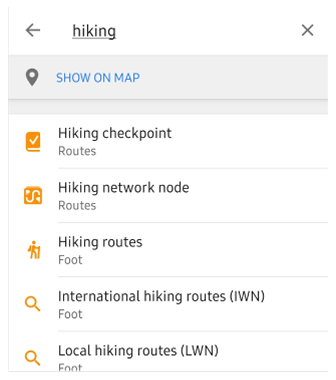
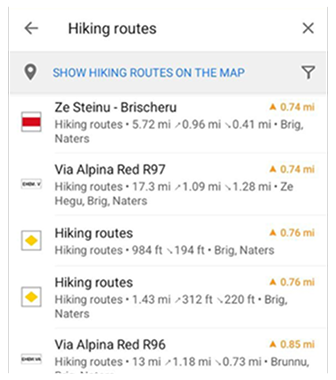
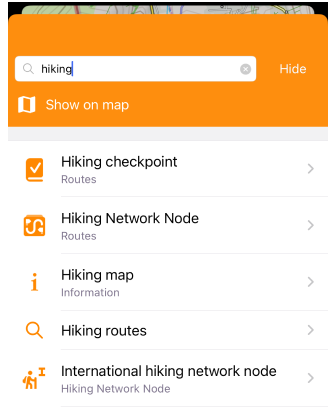
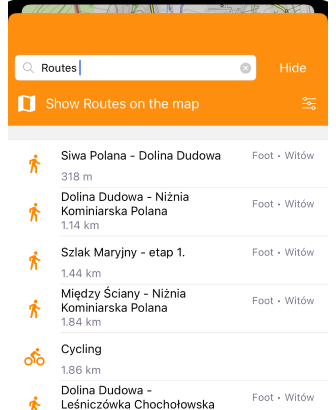
Find routes using the Search function by name or by selecting "Routes" in the Categories section.
To search, go to the Search menu or Search → Categories and enter your activity.
Navigate to Search → Categories → Routes to find desired routes. Routes search results display the route name, activity type, length, location, uphill/downhill (on Android), and distance to the nearest point.
Routes Filters
- Android
- iOS
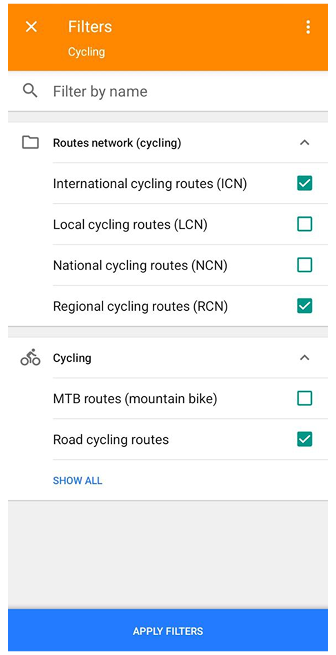
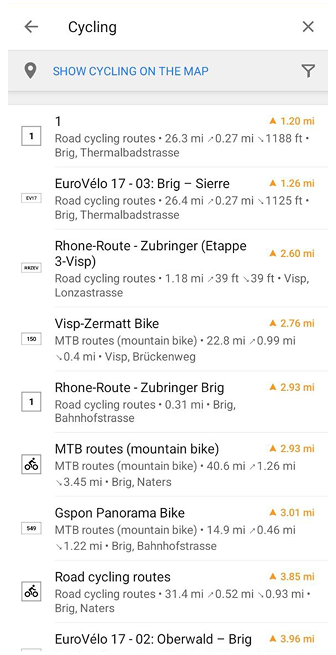
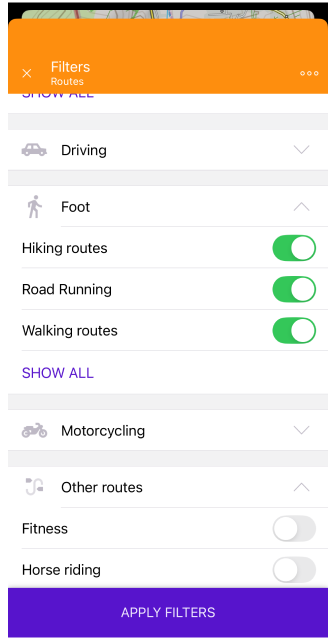
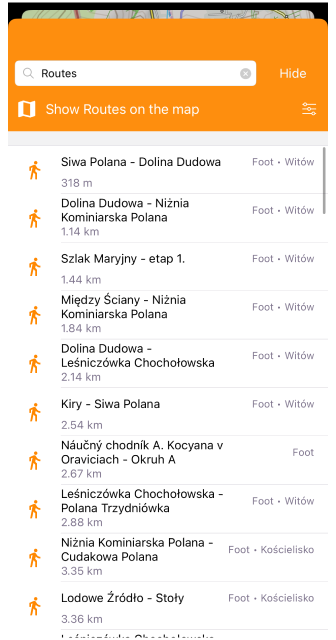
In Routes search results, tap the Filters button in the top-right corner to narrow down the list. The Filters screen includes a Filter by name field and extra criteria that depend on the selected route category or activity, as each category can expose its own characteristics and filter values.
You can enable or disable filters using the switches, and some sections include Show all to display additional values.